This is a great, quick and simple lesson that I adapted from
That Artist Woman (another Canadian art blogger!) I used her base idea for doing Pysansky eggs, but made a few changes to the plan. Primarily, students traced all of their lines using Sharpie (I'm a hopeless Sharpie addict), and the drawings were placed onto pretty Spring themed scrapbook paper for a finishing touch.
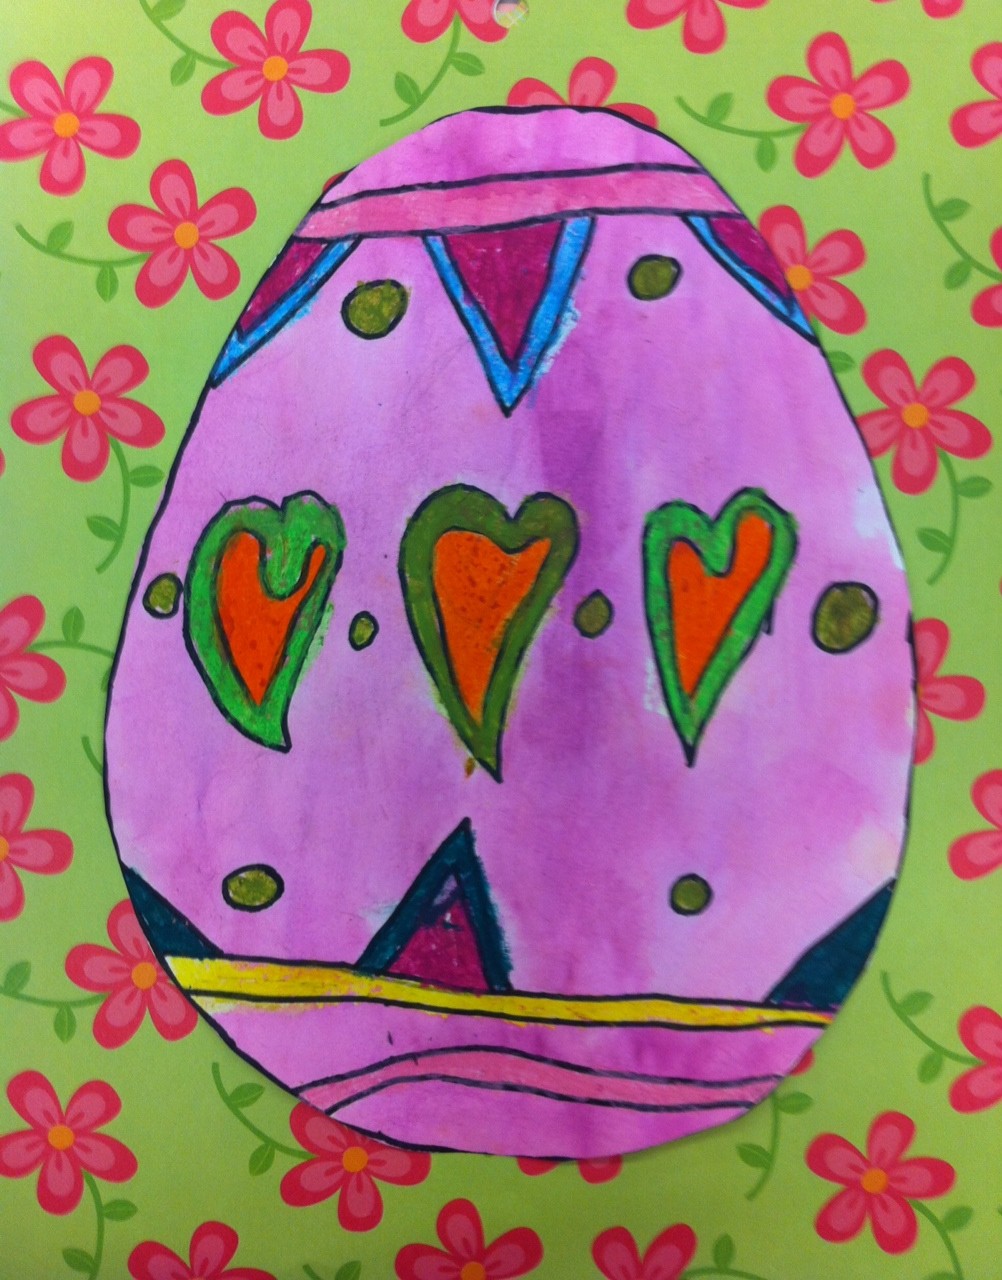
We started by looking at photos of real Pysansky eggs. We talked about the lines and shapes that were used to fill in the designs. Students used a tracer to make the shape of the egg, then filled in the designs on the inside. They traced their lines with Sharpie, then colored in the shapes using oil pastels. They were instructed to leave some sections white, as that would attract the color when we did the tempera disk wash.
I put the tempera disks into individual holders, and filled them about halfway with water. Students were instructed to use the water only, not actually touch the disk with their paintbrush. They used a large brush to paint all over the eggs. When they were done, the eggs were cut out, and mounted onto pretty paper!
This is a wonderful project that took less than an hour to do - perfect for a sub, or just an easy project to reward a class!


These are so fun! I love the color & pattern. They make me oh, so happy!
ReplyDelete