
Some women at my work asked me to make them a donut plush, using the character Arnie from these books as inspiration:

First, you need three pieces of felt - two in a donut-y color, and one in a chocolate brown. Since I was making four donuts, I made a template to use using a CD holder and a pepsi can.
Notice a chunk of the template missing? That's from my dog, who got a hold of it and ate part of it. It's fine though, I can approximate the circle. You need to cut two of the donut colored felt, and one of the chocolate felts.


Once
you've cut out the circles, cut the hole in the center, to make them
all more donut-like. You should now have three identical circles.

Nect, cut some wavy lines around your brown piece, to make it look like drizzly chocolate.

Now
it's time for the best part. Get out some fun colors of embroidery
thread, and start sewing it through the chocolate part to make
sprinkles.


See? Pretty side above, mess of thread below. 
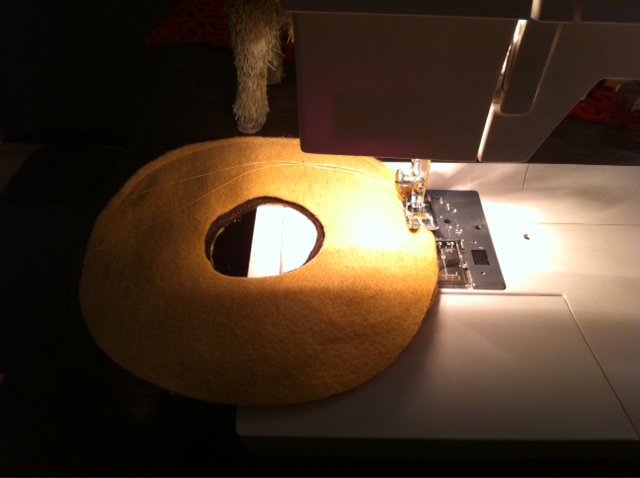
Now take your chocolate piece, and one of your donut pieces. Putting the good side up, sew the chocolate piece to the donut, both the outer edges and the inside.

Once
that is sewn together, you need to take the other donut piece. Put the
right sides together, and sew the outer edge, leaving an opening so that
you can flip it to the right side. Sew ONLY the outside, leaving the
inside open so that you can flip it.
Once
you 've done that, flip the donut to the proper side. Now, you have to
sew the middle section. I don't have a picture of this part, but you can
do it!
Now, you should have an unstuffed, deflated looking donut.

Now, you just need to stuff and stuff your donut. Stuff as much as you can, using the opening you left.

Once it's stuffed to capacity, you hand sew the little opening closed! (This is me sewing it propped between my knees... lovely.)


I really wish I had better pictures of him, but I am back to work tomorrow after two weeks off, and I need to get my stuff in order! If anyone makes an Arnie, please send me a picture. I'd love to see!


Are you an art teacher? You must have more free time than most to make such cute plushies!I've never seen that book before but I'll definitely check it out!
ReplyDeleteFunny, I didn't see this until now! I am an art teacher, as well as a classroom teacher (it's a confusing schedule but I do 5/6 French immersion, then when they are in English, I do art!) I don't have a ton of free time, but what I do have is spent on crafting!
Delete