
This is what we were left with following the addition of the new sink.

As always, I'll start with the good stuff. You can see the changes we made to the cabinets under the sink:


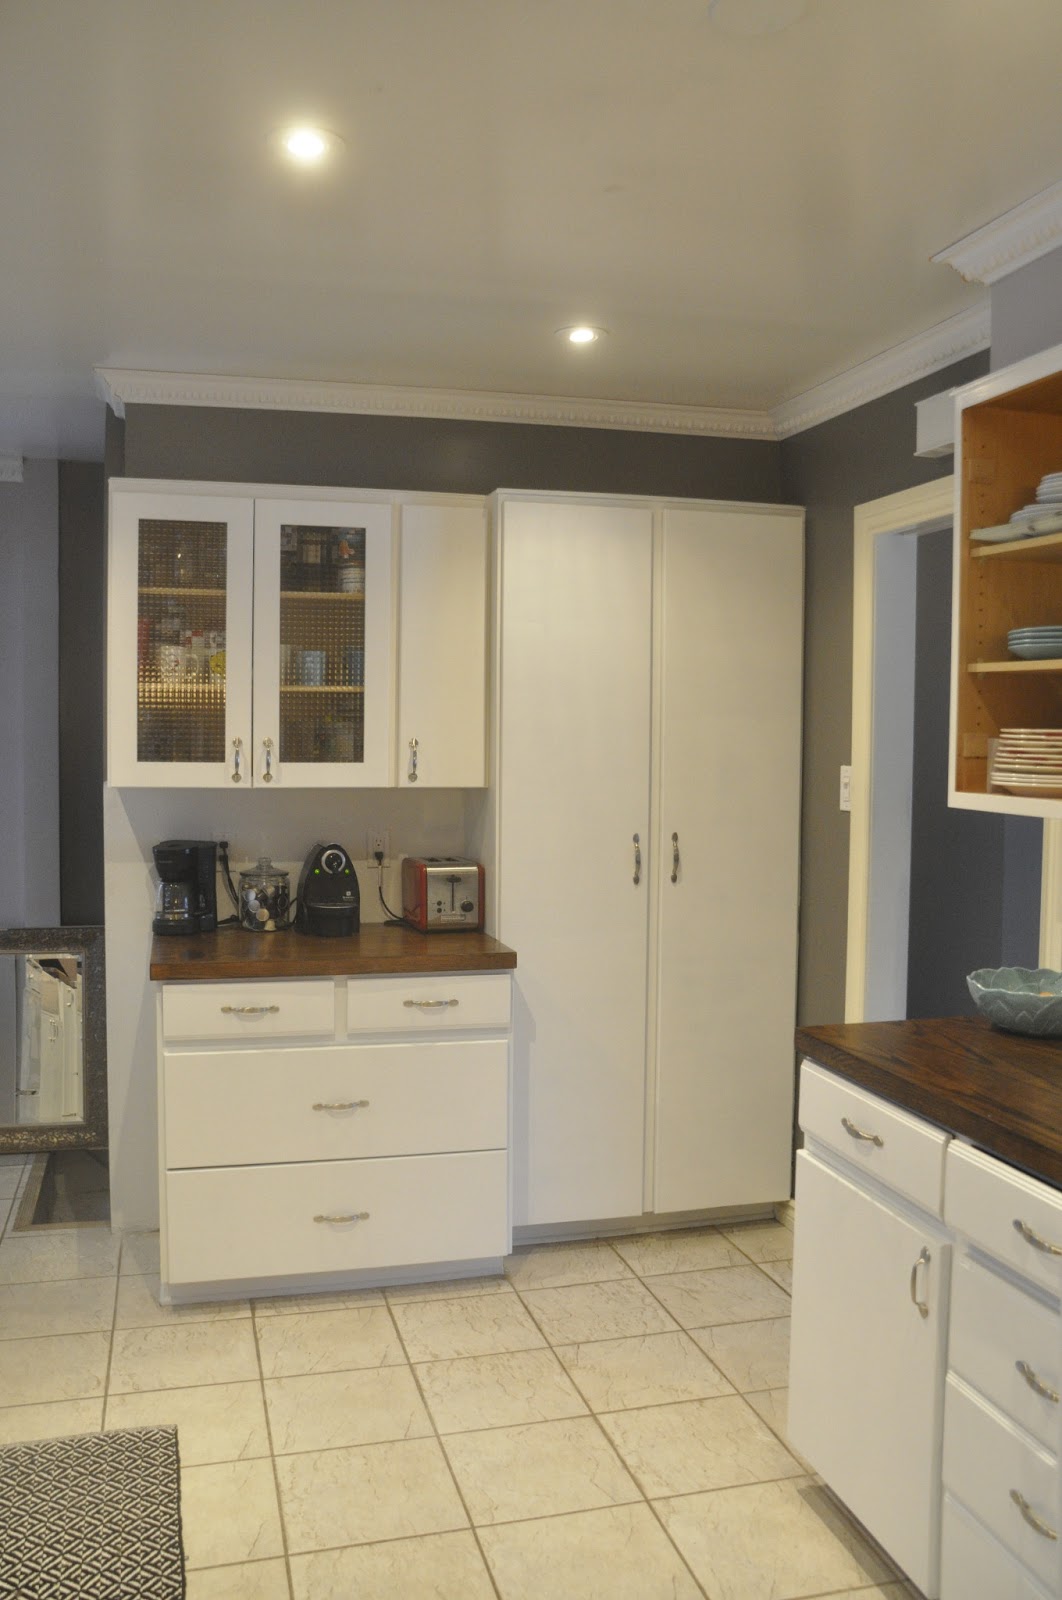
It feels SO much brighter already!
So the entire process of painting cabinets was really complicated, but also probably not as complicated as we made it. We started by removing the cabinets, and removing the hardware. A friend of ours had lent us a paint sprayer, which seemed to us like the best way to get this done. The day we decided to start painting the cabinets, I came downstairs to find Joel in our laundry room, Dexter style, with a drop cloth and a line of cabinets:


I let him get to work. Twenty minutes later, I came back to this. Needless to say, Dexter won't be calling Joel for help anytime soon.

This seems bad, but it wasn't even the worst part. When I tried to brush one of the hairs off, my ring caught on the cabinet, and left a huge scratch. Like an idiot, I did absolutely no research about what kind of paint to use to paint cabinets, and just used a construction grade near white wall paint that I had purchased as a mistint several months ago. It had a very matte finish, and showed absolutely every. single. mark.
So, we started again.
I did some research, and settled on Benjamin Moore's Advance Paint in Distant Grey. This is a self leveling paint, which apparently means that it kind of evens itself out after it's been applied, giving a really smooth finish. We spoke to some people at the store, and they recommended just painting with a sponge roller. We couldn't bear the thought of pulling out the paint sprayer again, so we purchased some rollers to get the project going.
With all of that drama behind us, the new painting process went so quickly. Since we had primed our cabinets already with the sprayed paint, we only needed one coat of our new paint to finish off the cabinets. We put them in our cold storage to dry, so that no dog hair could get on them. By the next day, they were ready for hardware.
Joel and I had very different ideas about hardware - he wanted the straight, modern looking style (A), and I wanted more of a country kitchen look (B). We posted this photo to facebook:

and had our friends vote on which one they preferred. A definitely came out victorious, but somehow during the entire voting process, Joel changed his mind and decided he preferred B. I won't question it.
I originally found the handles at Home Depot, for $3.59 each. Even though I loved them, I had to check at Lowe's to see what they had. I ended up finding the same handles for $2.69 each. Lucky, right? They also sold another style that very similar, but about an inch longer, so I bought those ones for the drawers. Altogether, I spent under $80 on hardware for the entire kitchen.

Once the hardware was installed, we just needed to reinstall. After that was done, we got to sit back and bask in our love for our new, bright cabinets!


Here's a view from the other end - where we eat!

This is off topic, but it deserves some love - check out the beauty light that my husband made for us. Isn't it just gorgeous? He made it using reclaimed wood and mason jars. He's pretty amazing.


If you're keeping track, here's where we're at in our kitchen reno list:
rebuild the cabinets under and beside the sinkpaint all cabinets (eek!)change out all hardware- install shelves where the open cabinets are (see below!)
remove old backsplashand install hexagonal backsplash- paint walls (80% done)
- remove old floor and install new floor
- remove the panel in front of sink window
- new tiles in greenhouse window
- some kind of window covering for the greenhouse window
- put up some beautiful artwork


Nice renovation so far! What a lot of work! While I can understand the aesthetic argument for hardware choice A for your cabinets, I can tell you from experience that you will be very glad you made the choice you did for hardware B. We used to have hardware similar in style to your choice A and every time I was in the kitchen, my clothing would get caught on the extended open ends of the drawer and door handles on our cabinets. (In other words, the ends stick out beyond where they are anchored to the cabinets.) I can't tell you how many of my sweaters and pants pockets were torn before I finally convinced my husband we needed to replace the handles with hardware that had their ends anchored flush against the cabinets.
ReplyDeleteKeep sharing your progress!
Thank you! Yes, I've had a couple of people mention how annoying the open handles can be. I'm very happy with the choice that we finally made! Plus I think it definitely suits our style more than the modern ones.
DeleteJob done well, i also want to paint my kitchen cabinets but i don't know from where to start as i haven't done it before, after reading your story i am sure i will be able to do it perfectly.
ReplyDeleteThat's wonderful, I'm so glad it helped! Do make sure to let me know how it goes! :)
DeleteI like your blog a lot. Its informative and full of information. Thank you for sharing.
ReplyDeleteWhether you’ve just put in a new kitchen, going through a renovation or just want to add a new coat of paint, our painters sydney team can help you!
ReplyDelete