Showing posts with label nursery. Show all posts

Sunday, January 19, 2014

Our Nursery (about 90% finished!)

 
I am really excited to finally share our nursery with everyone! We've been working on this room for months - we took it from an oversized room with a huge closet to two smaller rooms - one is now a mudroom/laundry room with an entry from our garage, and the other is our new nursery!

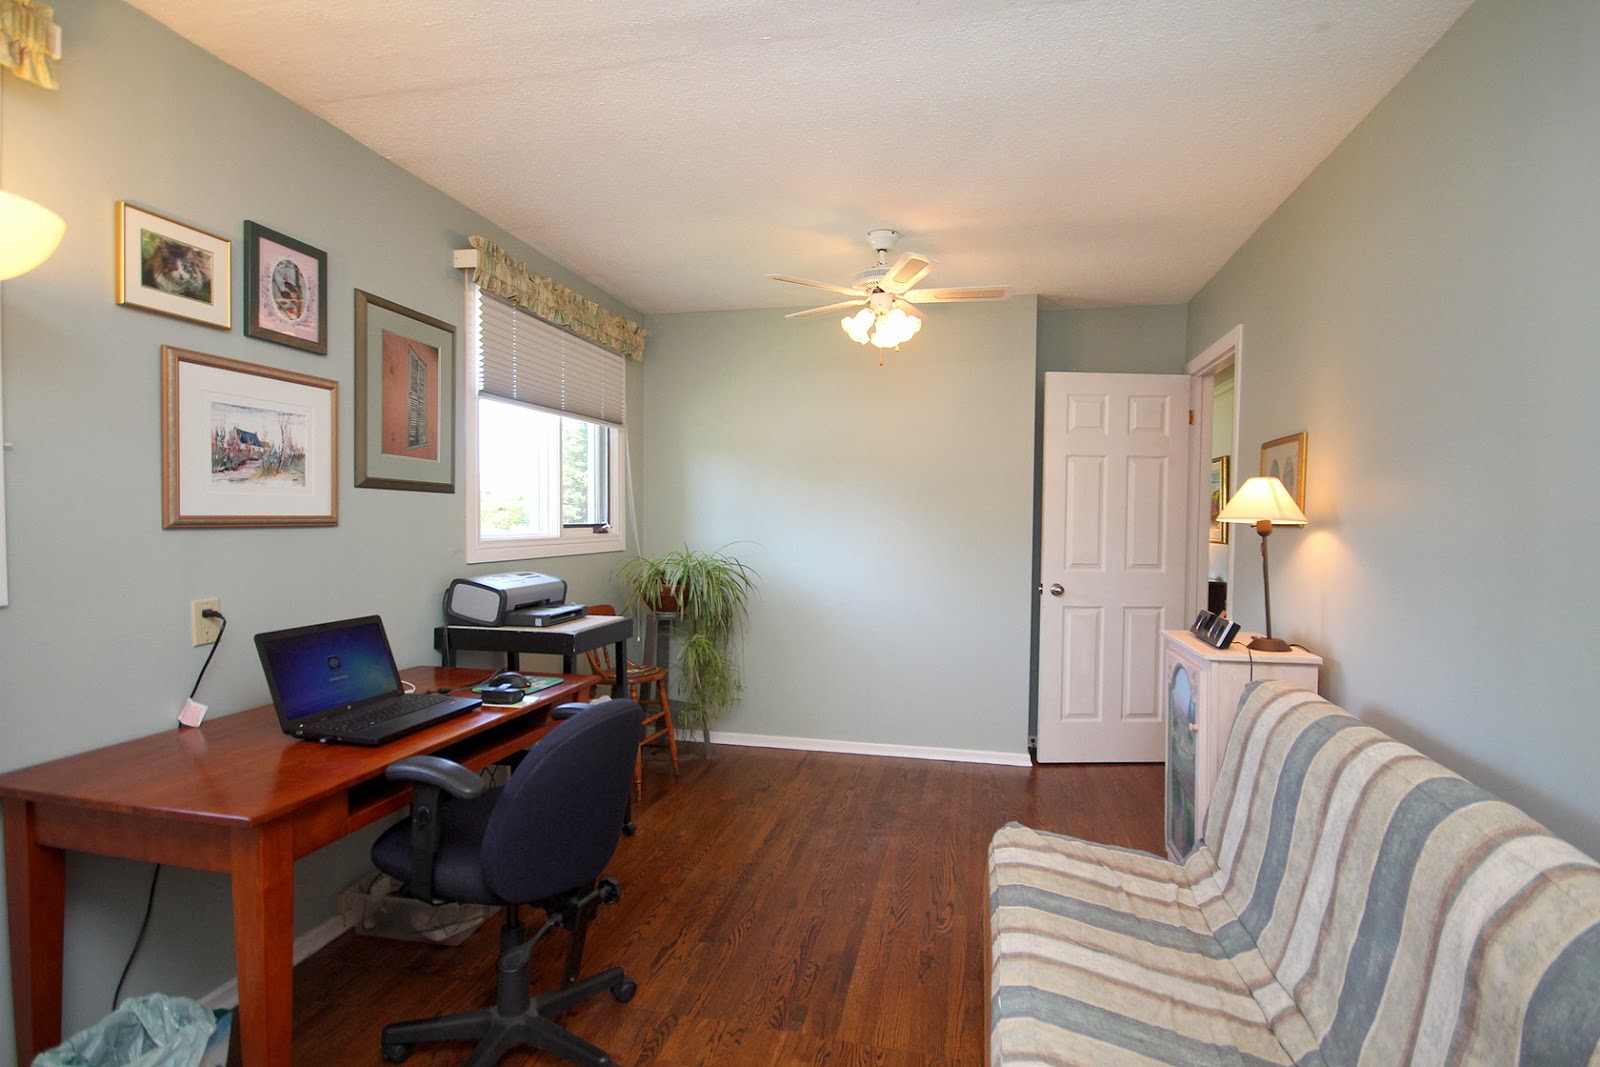
It's a bit hard to show true before and afters, because the room is so different, and angles that existed in the room before don't exist anymore. For an idea of what the room looked like when we moved in, here is what we began with:

 and this is it from today, from roughly the same angle:


The room is shorter now, and the closets are gone, space which we used to make our mudroom/laundry room. My husband also added in a little hallway on the left side, and added a door to the hallway.

This was standing from near the entryway - it was a really large room. When the house was built, it was originally two bedrooms, which is why it has two ceiling fans, two windows, etc.

 Today, it looks like this - it's much narrower, about 2-3 feet was cut off for the hallway on the left side of the wall, but beyond this, it opens up into the full sized room (this is sort of a "nook" area now.)

From the far end of the room (near the closets) the room before looked like this:

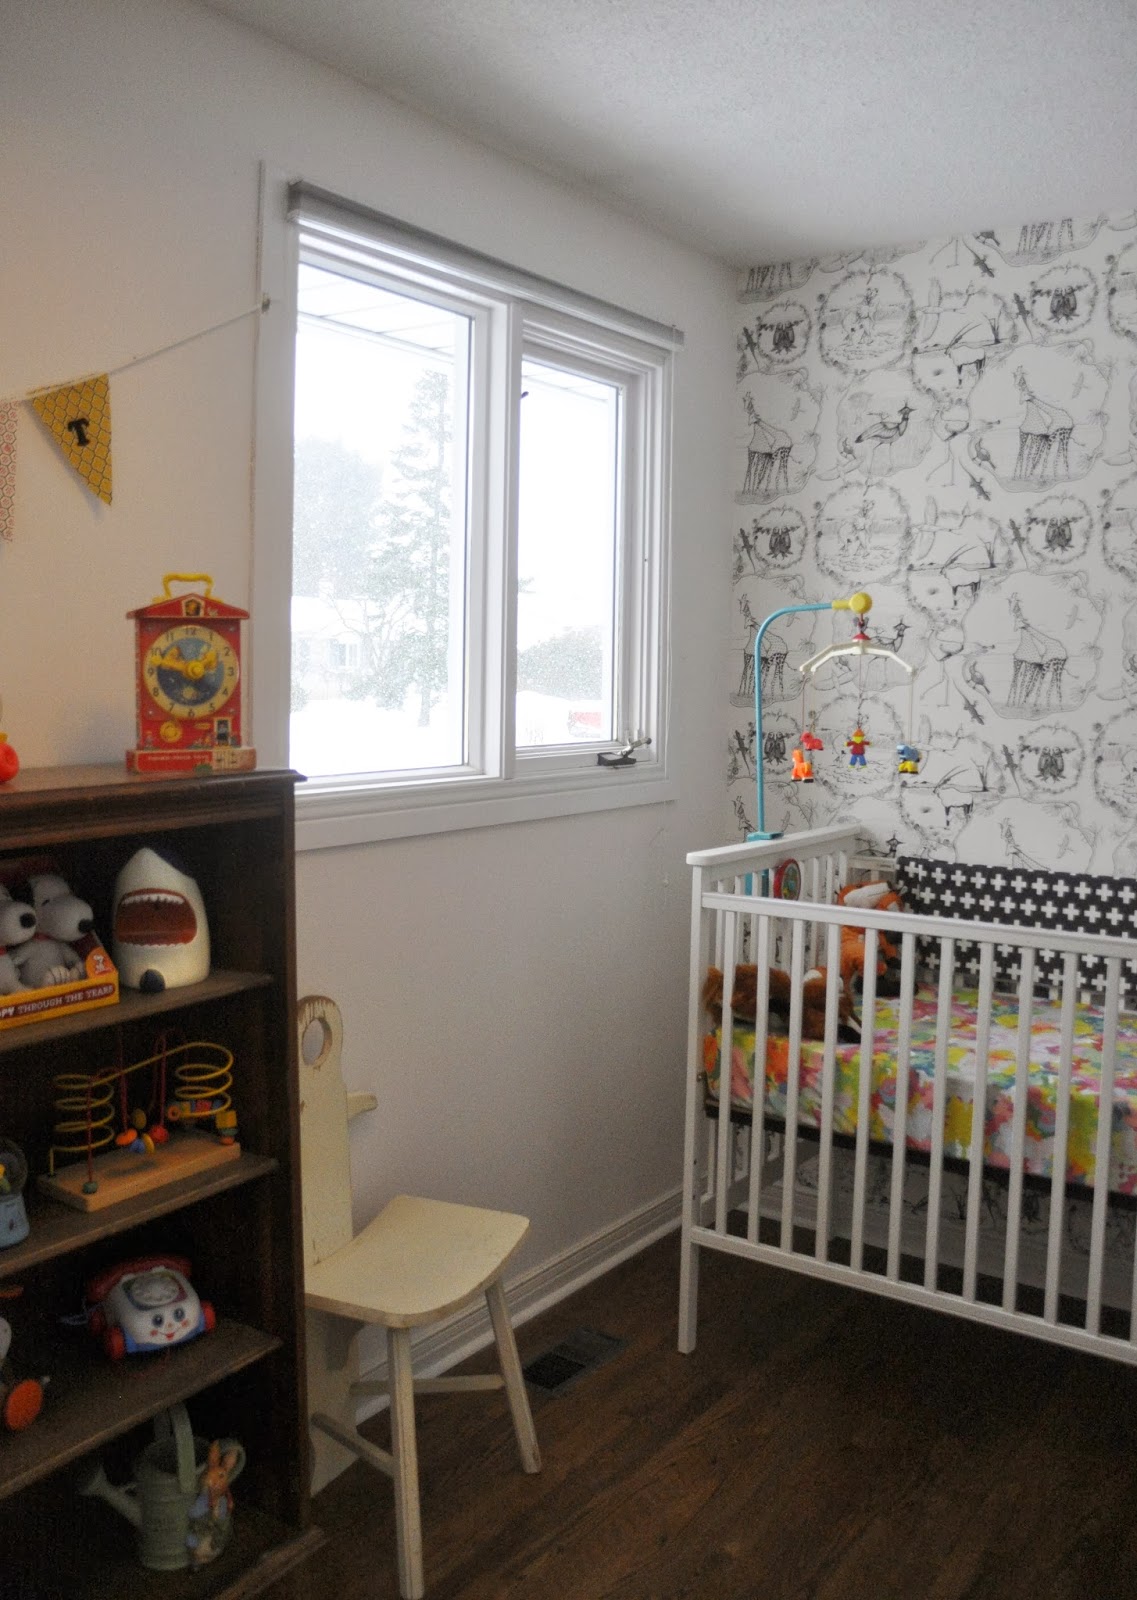
And now, it's our wallpaper wall!


So with that all out of the way, here's a full tour of our nursery!

This is the view from the doorway, when you first enter the room:


My husband made the honeycomb lights, which is actually one of my favorite parts of the entire room. He just sort of brainstormed them one night, and a few days later, we had this beautifully constructed honeycomb light in the room. He took some pictures while he worked and put together a little tutorial, which I'll post soon hopefully!

To the left when you enter is our clothing hanger. We made this using an old branch we found after a windstorm. We have all of our outfits hanging from 0-6 months, which is more than enough.


In our little nook is my change station. This beautiful mid-century modern dresser was given to me by my mother in law. It's just so perfect!

The horizontal paneling is an idea we found on Vintage Revivals. It only cost us about 20 dollars for the materials to do it!


Then we have our toy shelf, then back to the crib!


One of the things I'm most proud of in the room, and which took me longer than anything else, was the quilt I made for our girl. It's the first quilt I've ever made, and while it's not perfect (not even close!) I am so so happy that I got it finished before she comes.


On the topic of quilts, my best friend made me an incredible quilt which she gave to me at my baby shower. I just love it so much!

We are so in love with the room. It's not completely finished, but it's very, very close. The only things left on the agenda are:
  • Installing lights on the wallpaper wall
  • Putting up artwork (we have about 7 frames with photos, waiting to go up!)
  • Some kind of window treatment
And that may be it! I haven't taken a full tally of how much everything cost, but I would say everything, from construction of the wall, to wall treatments, to lighting, to furniture, cost around $800.


Tuesday, October 1, 2013

Record cabinet DIY - turning a record cabinet into a toy chest!

This project is exciting for a few reasons. For starts, I have always loved the look of old record cabinets, but never had any need for one in my house. We already have a record player to begin with, and even if we didn't, I find them really huge and bulky for something that wouldn't be used too often. So I am very excited to have finally come up with a way to use one of these old things!

The second reason this project is exciting is that it finally gives me an excuse to announce that... I'm pregnant! My husband and I are expecting our first child, a girl, in February.

So, how does that relate to an old record player?

Well a few weeks ago, I spotted this monstrosity on it's way to the trash.


I somehow managed to convince my husband that we needed to save it, so a few hours later, we loaded it into our truck and took it home.

Since I have babies on the brain lately, I knew that I wanted to use it as a piece in our nursery. I hemmed and hawed over a few different uses, and finally decided that it would make a perfect toy chest (which for the first while, could just be storage for the huge amount of baby supplies that will soon overtake our lives.)

We began by prying the record player apart, and emptying out the insides.


(You'll have to excuse my husbands arms here.. he doesn't seem to comprehend the idea of taking photos for a blog post when there's work that can be done.)

This part was surprisingly straight forward. Even though the cabinet was full to the brim with cables, wires, and electronics (a tape deck, record player, radio) it was basically as simple as just unscrewing things and pulling them out.  


Once this was done, I brought the cabinet outside, and primed it with a stain blocking primer. 

In hindsight.. a second coat would not have been a bad idea. But, I left it at one (this just meant I needed several coats of my paint instead.)

After it dried overnight, I came at it with a nice buttercream yellow. I haven't thought of a real "color story" for the nursery yet. All I know is that I want a mix of furniture colors/textures, including wood and paint. So, I just went to the paint store and chose what spoke to me, not worrying about the other pieces to come.

Those mickey mouse holes where the speakers used to be just needed to be covered up with some fabric. I had some leftover floral, which went pretty nicely with the yellow, so I just used a staple gun to throw that on. I spray painted the grates white, then painted the rest of the piece yellow (many, many times.)

And at that.. the exterior is done!

Here's a few comparison shots:


And some more of the exterior:


Once we bring it inside, I'll get some better brighter photos (for now, the nursery is missing some walls. We're putting a laundry room in next to it!) I also have to consider how to arrange the inside - shelves or compartments, or just open as it is now. 

Has anyone else come up with a use for one of these old record cabinets?
Related Posts Plugin for WordPress, Blogger...