Showing posts with label sewing. Show all posts

Wednesday, August 8, 2012

DIY West Elm style Pouf


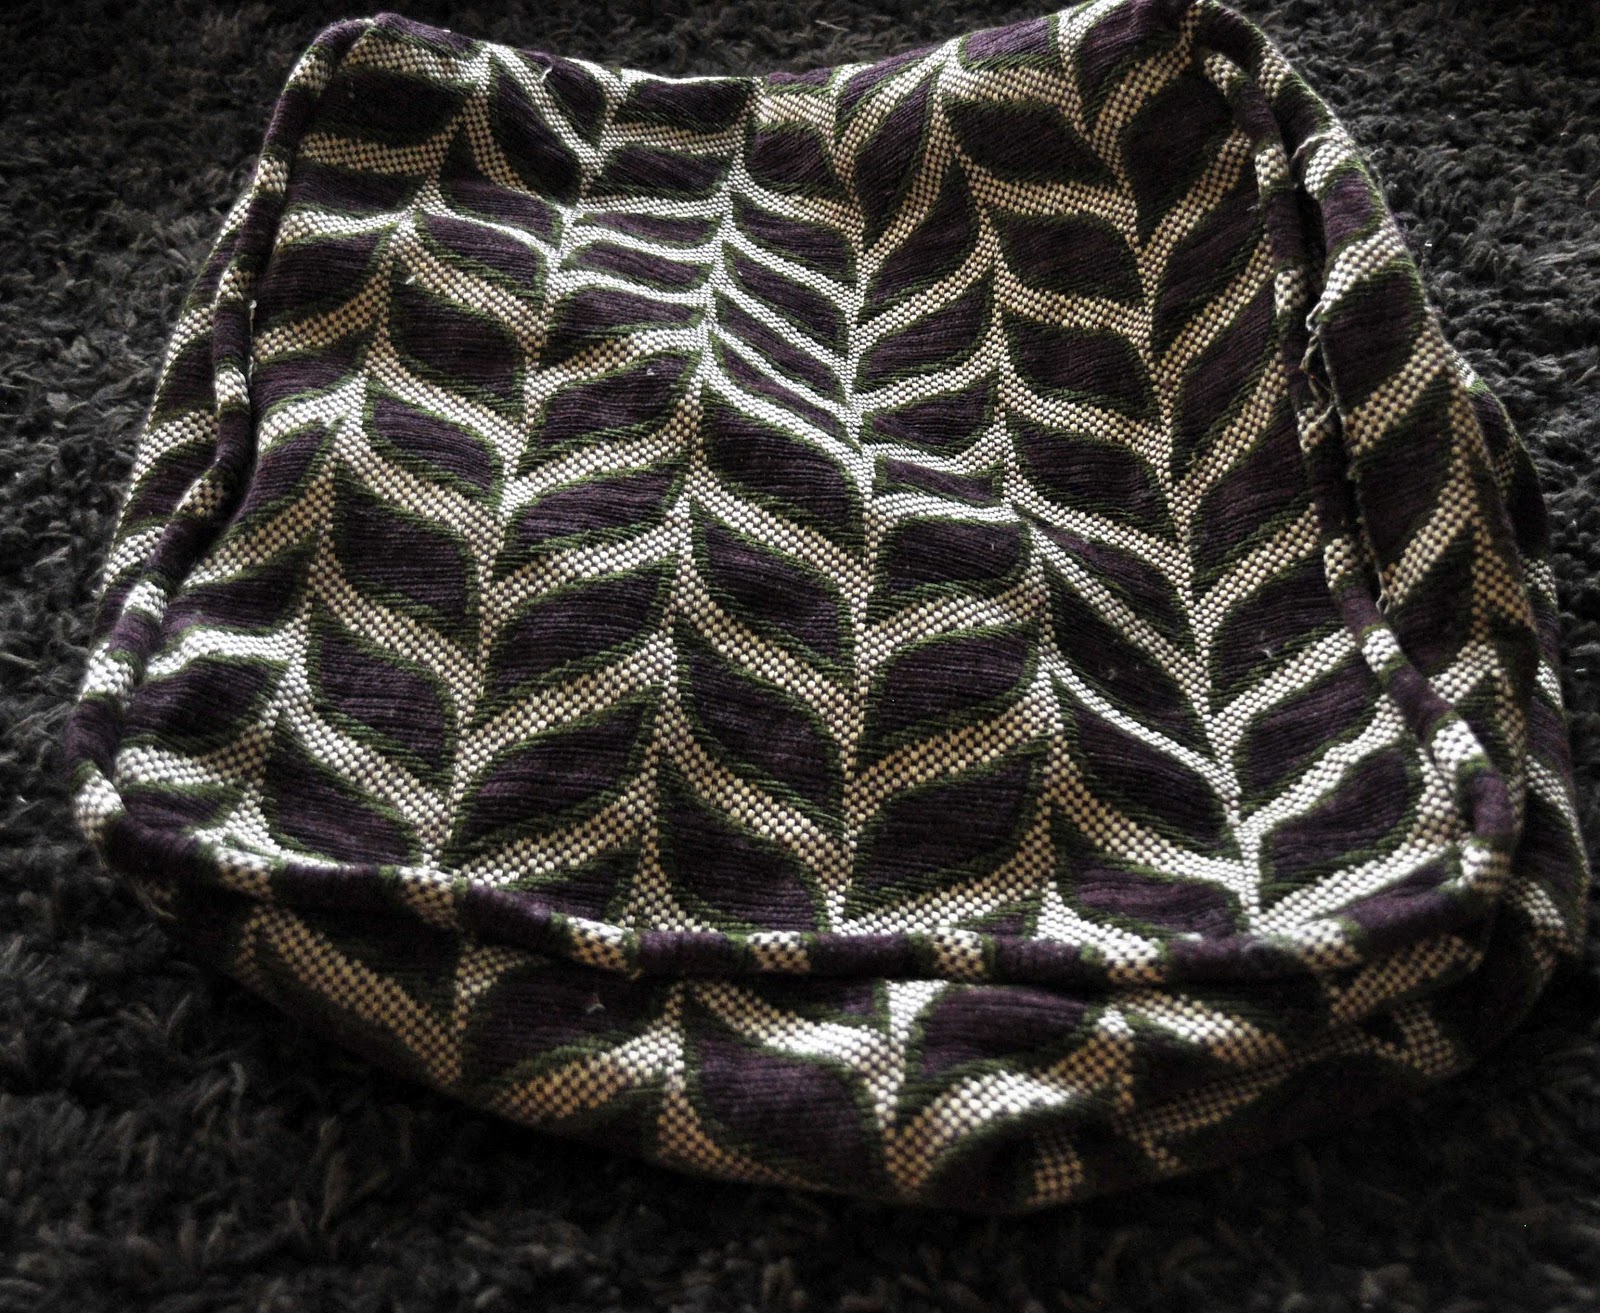
The West Elm Pouf's have been all over the internet, and I can't help but to have been sucked into the hype. I love them. They're so cute, and so pretty. And SO expensive.

Right.

Maybe it's because I spent the first half of my summer teaching math, or maybe it was a desperation to have a pouf of my own, but I look at those and I think, that's nothing more than a cube. Like, it's really just one of those seventh grade, net style cubes that I just spent 3 weeks teaching to a group of 13 year olds.

I decided to try making my own pouf. I will say right now, it was so much easier and quicker than I could even have imagined. I'd say under 1.5 hours to do this entire project.

Supplies required:

-A pretty, sturdy upholstery fabric (about 1m)
-Some cardboard to make a template
-Sharpies, or something you can safely use to mark up your fabric
-Stuffing (I just tore apart old pillows that have been in our basement for years)
 

I began by dividing my cardboard into two pieces - one that is 40cm by 40cm, and one that is 20cm by 40cm. These are the two pattern pieces I need to make this pouf.

Now you will build your pattern piece, moving your pattern pieces along your piece of fabric, tracing as you go (I used Sharpie but be careful depending on your choice of fabric). You will build your pattern to look like this:
 Once you have finished tracing, you can cut out your pattern piece in ONE big piece. Following this, you are ready to begin sewing! I've made a sewing guide to make it even easier:


Start by sewing the first part of the box. Holding the right sides together, start by sewing the green line to the green line, as seen in the picture above. Continue by sewing the orange to the orange, yellow to the yellow, and red to red.

 When you're done, you’ll have a half box finished.

One note I will add - I wanted to make a  fancy edge on my pillow. I've never added an edge to a pillow before, so I was really just guessing as I went. If you want to add an edge, do it before you sew down the top part of your pillow. I added a photo below of how I made a corresponding edge so that it blended well with my pouf-to-be!


The next thing you are going to do is sew your top to your bottom. Following the sewing map, sew dark blue to dark blue, then pink to pink. Lastly, you will sew sky blue to sky blue, leaving the spot open so that you can flip your pouf right side in. The reason I left it in the center like that is because that way, you can easily flip it around to the back. Really though, you can leave the opening anywhere you want.

By this point, you should have an insideout pouf!


Then using the little hole you left, flip it rightside in.
And now for the fun part - stuff your pouf with stuffing!! Instead of purchasing stuffing from a craft store, which I find really expensive, I usually try to find old pillows (we always seem to have some lying around), cut them apart, and reuse their stuffing.


Once it's stuffed, hand sew your pouf closed.

Once you are finished with those seams, you are finished! Sit back and enjoy your $5 pouf.


Please let me know if you try it! I'd love to see your results!

Thursday, August 25, 2011

Homemade pocket chart!

Yesterday I took on the task of making my first ever pocket chart. I use a pocket chart in my class as the class store, but it's pretty hideous and I really don't like the blockey colors.

First, I started by purchasing .75 meters of this fabric ($2.50) and 1 meter of vinyl ($3).
I ironed about an inch and a half around the edges, and flipped itover a second time, to get a crisp edge without having to do too much sewing:Then, I took the vinyl, and cut out four strips,that were the length of the fabric and about 7 inches tall. When it was all cut, I laid it out on the fabric to eyeball everything (very hard to see!) Next, I cut out some small vinyl pieces to act as little slots to place tags. After everything was cut, I pinned on tape binding to all of the edges.
This is what it looked like once the vinyl pouches were sewn onto the pockets.Sewing the vinyl to the fabric was a bit of a task. It's difficult to sew because the vinyl tends to get caught on the presser foot of the sewing machine. Finally, I ended up pinning paper towel to the top of all of the vinyl, so that it would slide easily. It just took forever, but really made the process so much easier. When I was done the sewing, I just ripped the paper towel out. It came out quite easily.
And, that was really it! I just had to sew, sew, sew, all along the corners and edges until I had pockets (basically wherever you see paper towel in the picture.) I'm really happy with how it turned
This is what it looks like stocked! (there's still some goodies missing from the more "expensive" pockets.. not sure what to put in those, yet!)
The entire thing cost under ten dollars. I will definitely be making more!
Related Posts Plugin for WordPress, Blogger...