Sooo my art shelf is all finished!
First of all, if you don't remember art shelf part 1, please refer to
this post.
Basically where I left off, everything was done except for the top, caulking, painting, the siding for the back, and moving it into my classroom.
The first thing that I needed to do was go to Home Depot and get paint.
Simple, right?
Obviously you've never been out with me.
Apologies to Home Depot for this one.
Anyway. Let's move past that, shall we?
The first thing I had to do was caulk the cracks in all the corners. If you haven't used caulking, it's FUN. Really, it's super satisfying, it's like playdoh mixed with glue and it makes everything pretty. It's awesome.
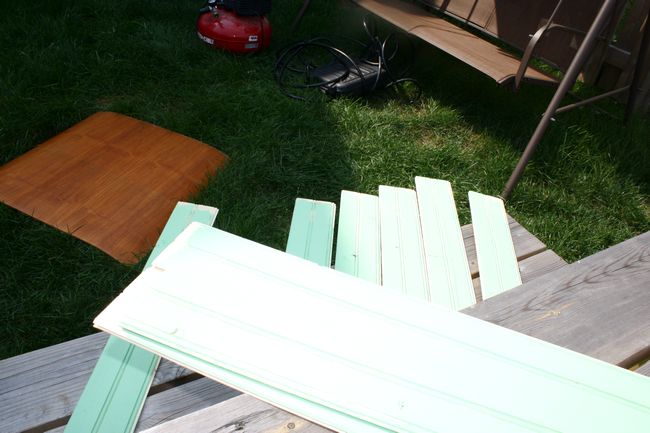
Then I had to paint the wainscoting that I bought for the back pieces.
While I waited for Cody to come cut the wainscoting, I started painting!
And painting.
Then Cody began attaching the back panels. While I painted.
And painted.
And then.. it was DONE!
I absolutely adore it. It reminds me of Cape Cod, and I feel so happy everytime I see it. Especially when you know what shelf it's replacing.
See? This is what my art supplies were stored on before.
And here they are now!
Huge thanks to Cody for all of the help with this project. I am not confident with power tools yet, so he did all of the hard work while I held things and used Gorilla Glue and made sound effects (read: eeee ee ee e ee oooh ooh ahh ahh.)
Aaaaaaaaaand that's it!