This is the first time I'm going to post a half finished project, only because I have been on it for the past month and we made such progress today and I want to share!
Basically, I decided about a month ago that I really wanted to have a great art shelf for my classroom. Something like this. But look at the price!! Obviously I don't have that kind of money. So one day while I was working at the daycare, I drew up what my dream cabinet would look like:
 I even tried to write down measurements, so that Joel would be more willing when I asked him to make it for me. Joel and Cody took me to Home Depot, and we bought a huge piece of MDF (which was terrifying to bring home, but I won't start on that.)
When I got the MDF home, I traced out all of the pieces onto it (which I planned on a piece of paper first) so that Joel and Cody could make the cuts. A couple of days later, I had this:

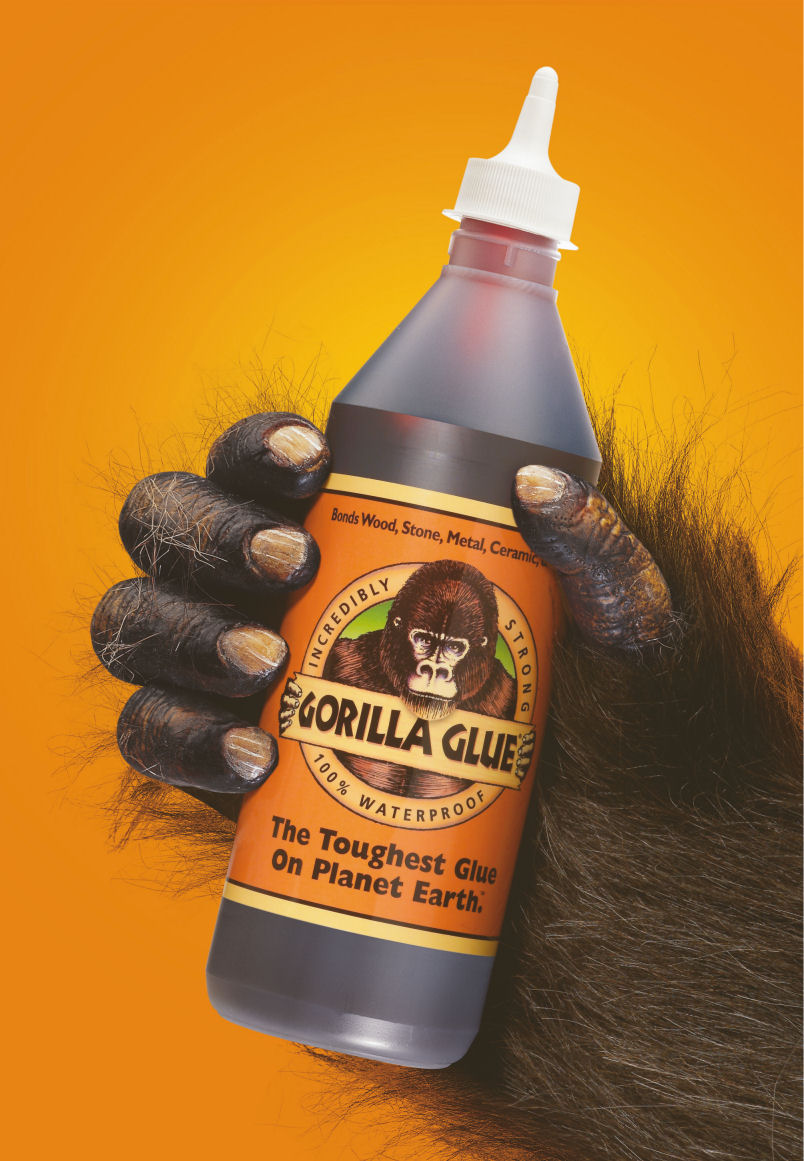
I did a REALLY quick, sloppy white coat of paint on the pieces as a base. These sat in our living room for a few weeks, until today, when Cody and I finally got a chance to go out and build the start of my DREAM SHELF! I took some pictures as we worked. Cody did all of the nailing, but I had the important job of putting GORILLA GLUE on everything. Here's me holding the bottle:
 I did appropriate sound effects every time I glued, don't worry.


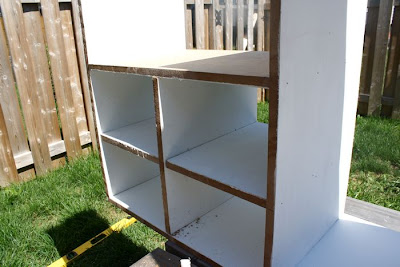
Great paint job, huh?
This is where I will store tupperware buckets full of markers, pencil crayons, etc.
 I must have been Gorilla Glue-ing in a lot here, because there are no more pictures until the end:
 Yay! The right side is for tupperwares, and random supplies on the top. On the left side, paint bottles will go on the bottom, legal sized paper on top, and the three shelves above are for regular sized paper. Beside that, I will put scrapbooking papers standing up.
Isn't it wonderful?
Here's what's left to do:
- Buy a bit more MDF for the top
- Buy thin slats of wood for the back
- Caulk the little gaps between the shelves
- Paint the whole shelf the color of the second swatch here
- Decide if I want to do a lip around the top

This content is simply exciting and creative.
ReplyDeleteAppreciate it for helping out, excellent info.
ReplyDeleteGreat post.
ReplyDeleteGood work! Glad to have found your page!! This is such great work
ReplyDelete